pfSense is a firewall software used to monitor and control incoming and outgoing network traffic based on predetermined security rules, pfSense installs a physical computer or virtual machine. pfsense firewall is generally managed (web interface) via the internal or LAN (Local area network) interface.
By default, pfsense 2.7.2 doesn’t allow remote access to the web interface from WAN. This step-by-step tutorial shows you how to enable pfSense 2.7.2 administration (web interface) via the WAN (Wide area network) interface.
Demo environment (Virtual)
- CPU: 64-bit
- RAM: 4GB
- Disk drive: 10GB
- Network interface: 2
Method 1- Creating firewall rules
Use this method, if you already have access to the web interface via LAN. In this method, the PFSense firewall is accessed via the internal or LAN interface and creates a firewall rule.
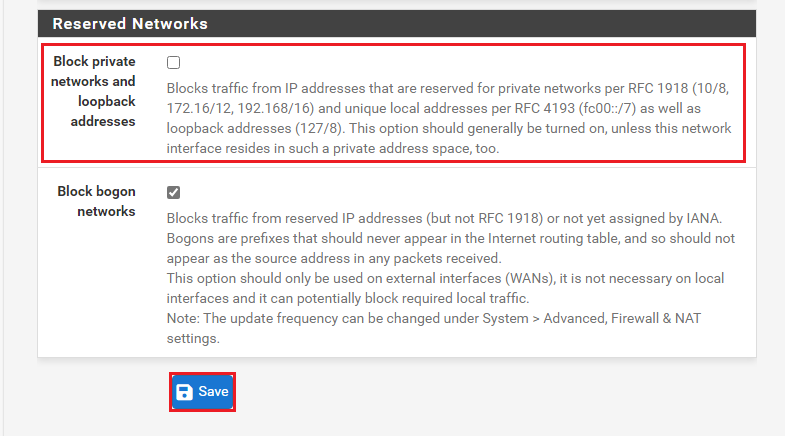
1. Open Interfaces > WAN
Untick Block private networks and loopback addresses and Save.
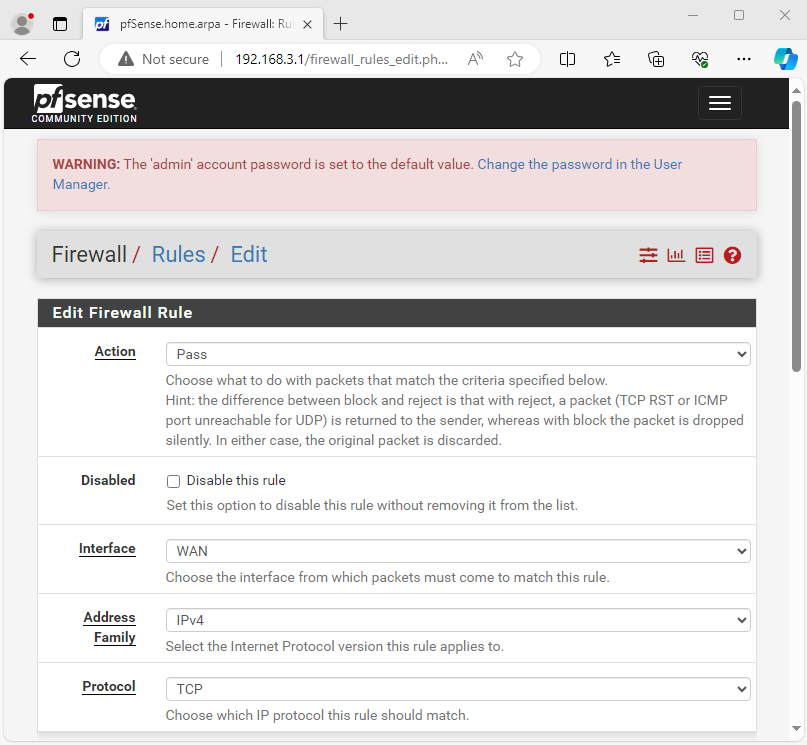
2. Open Firewall > Rules > WAN Tab and Add Firewall Rule
- Edit Firewall Rule Settings
- Action: pass
- Interface: WAN
- Address Family: IPv4
- Protocol: TCP
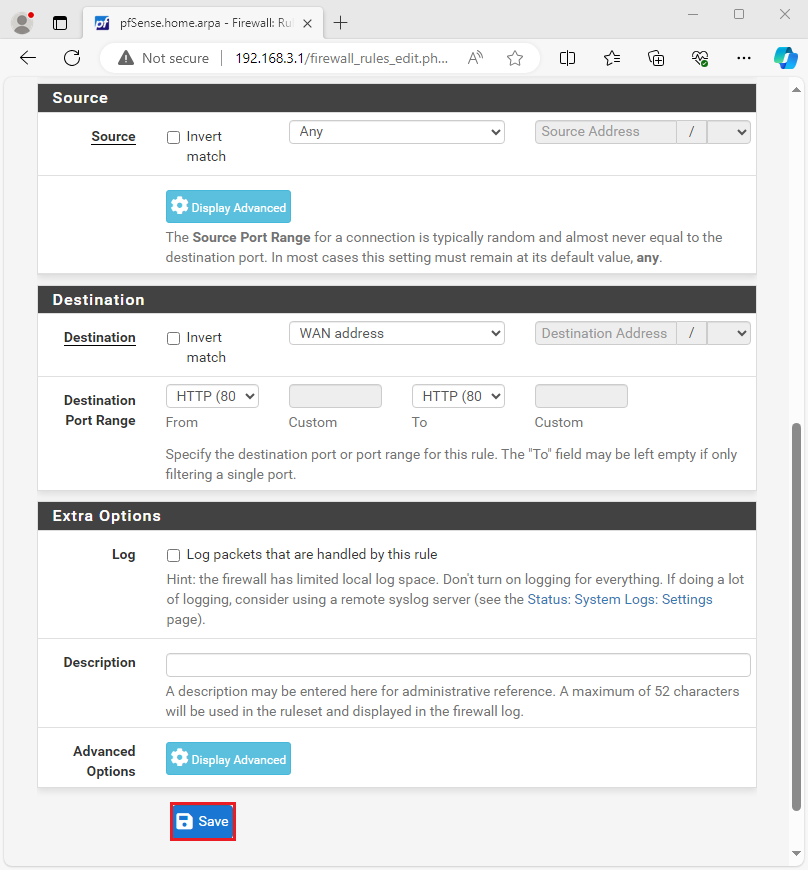
Source Settings
- Source: Any
Destination Settings
- Destination: WAN Address
- Destination port range: HTTP (Or the custom port)
And Save the Rule
Method 2 – Disabling packet filter
This is a temporary method, used if you have no access to the web interface via LAN. In this method access the pfsense firewall via SSH or console and disable packet filter.
1. Choose option 8 and press Enter key.
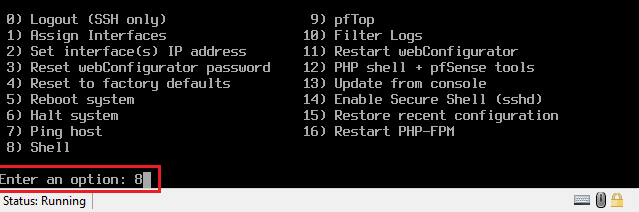
2. Type pfctl -d and press the Enter key.
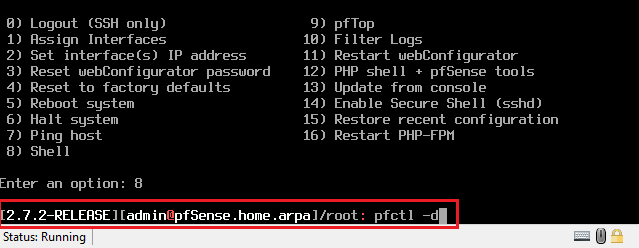
This will disable the packet filter entirely and you will be able to access the web interface from any interface. This method is useful for temporary or first-time setup.
- Enable packet filter pfctl -e
- Disable packet filter pfctl -d